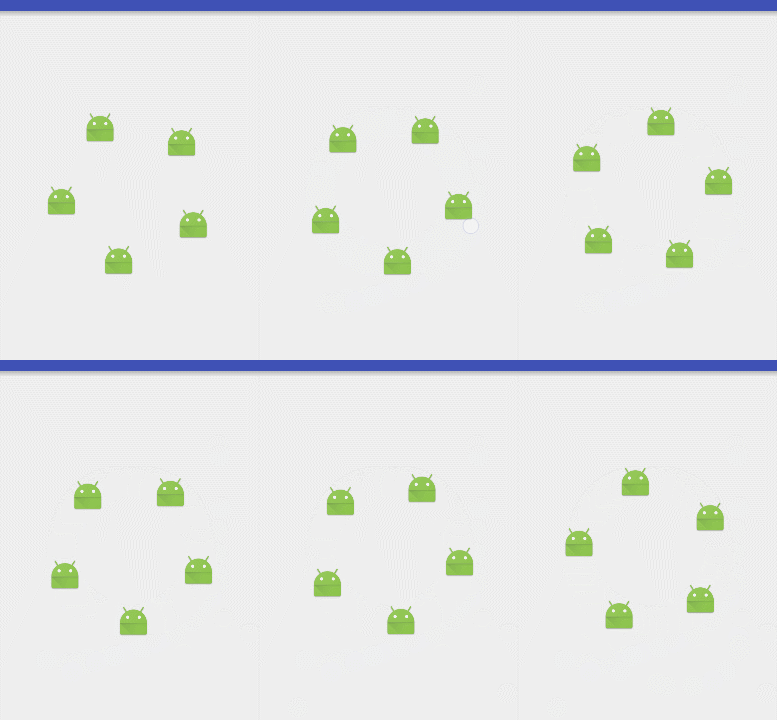
不知为何,突然想造一个轮子。

这图丢帧很严重,真机流畅
这个自定义控件只作为尝试性的开发,实际工作中需要重新做,因为这个轮子太简陋了,本篇只记录一下造轮子的思路
首先创建一个类继承自View,并初始化一些绘制用的属性
1 2 3 4 5 6 7 8 9 10 11 12 13 14 15 16 17 18 19 20 21 22 23 24 25 26 27 28 29 30 31 32 33 34
| public class MyView extends View { private Paint paint; private Bitmap img; private int centerX; private int centerY; private static final int MaxSpeed = 25; public MyView(Context context) { this(context, null); } public MyView(Context context, AttributeSet attrs) { this(context, attrs, 0); } public MyView(Context context, AttributeSet attrs, int defStyleAttr) { super(context, attrs, defStyleAttr); init(context); } private void init(Context context) { paint = new Paint(); this.img = BitmapFactory.decodeResource(getResources(), R.mipmap.ic_launcher); } @Override protected void onMeasure(int widthMeasureSpec, int heightMeasureSpec) { super.onMeasure(widthMeasureSpec, heightMeasureSpec); centerX = getWidth() / 2; centerY = getHeight() / 2; }
|
绘制用的条件已经准备完毕,接下来需要复写onDraw方法来把几个android小人按圆形布局来绘制出来:
1 2 3 4 5 6 7 8 9 10 11 12 13 14 15
| @Override protected void onDraw(Canvas canvas) { float x = 0; float y = 0; for (int i = 0; i < 5; i++) { int i1 = 360 / 5 * i; y = (float) (Math.sin(i1 * Math.PI / 180) * 200); x = (float) (Math.cos(i1 * Math.PI / 180) * 200); x += centerX; y += centerY; canvas.drawBitmap(img, x - img.getWidth() / 2, y - img.getHeight() / 2, paint); } }
|
现在五个android小人已经成功绘制到屏幕中心了。
接下来我们需要让我们的轮子能够根据我们的触摸事件转起来。
复写ontouch方法
1 2 3 4 5 6 7 8 9 10 11 12 13 14 15 16 17 18 19 20 21 22 23 24 25 26 27 28 29 30 31 32 33
| float touchAnglePre = 0; @Override public boolean onTouchEvent(MotionEvent event) { switch (event.getAction()) { case MotionEvent.ACTION_DOWN: float x = event.getX() - centerX; float y = event.getY() - centerY; touchAnglePre = (float) (Math.atan(x / y) / 2 / Math.PI * 360); break; case MotionEvent.ACTION_MOVE: float x1 = event.getX() - centerX; float y1 = event.getY() - centerY; float touchAngle = (float) (Math.atan(x1 / y1) / 2 / Math.PI * 360); if (touchAnglePre / Math.abs(touchAnglePre) == touchAngle / Math.abs(touchAngle)) { touchSpeed = (touchAnglePre - touchAngle) * 2; } angle += touchSpeed; touchAnglePre = touchAngle; invalidate(); break; case MotionEvent.ACTION_CANCEL: case MotionEvent.ACTION_UP: break; default: } return true; }
|
作完上面的工作,让这个轮子根据触摸来计算轮子应该滚动的角度,并在变量angle中存贮
然后修改ondraw方法,让angle的变化作用于绘制过程
1 2 3 4
| angle = angle % 360 for (int i = 0; i < 5; i++) { int i1 = angle + 360 / 5 * i; ...
|
这样轮子就能用手指来滚动,但是是一个摩擦力非常大的轮子,根本不能滚动,所以我们要在触摸释放的时候给他一个惯性
首先,在初始化的时候我们定义一个动画
1 2 3 4 5 6 7 8 9 10 11 12
| valueAnimator = ValueAnimator.ofFloat(MaxSpeed, 0); valueAnimator = ValueAnimator.ofFloat(MaxSpeed, 0); valueAnimator.addUpdateListener(new ValueAnimator.AnimatorUpdateListener() { @Override public void onAnimationUpdate(ValueAnimator animation) { animSpeed = (Float) animation.getAnimatedValue(); invalidate(); } }); valueAnimator.setDuration(2000); valueAnimator.setInterpolator(new LinearInterpolator()); valueAnimator.start();
|
这是一个减速的动画,让速度值逐步减小
再次修改ondraw方法,让轮子的角度随着动画改变
1 2 3 4 5 6
| @Override protected void onDraw(Canvas canvas) { ... angle += animSpeed; ... }
|
在触摸释放的时候让轮子执行这个动画就可以了,调整一下ontouch方法
1 2 3 4 5 6 7 8 9 10 11 12 13 14 15 16 17 18 19 20 21
| @Override public boolean onTouchEvent(MotionEvent event) { switch (event.getAction()) { case MotionEvent.ACTION_DOWN: valueAnimator.cancel(); animSpeed = 0; touchSpeed = 0; ... case MotionEvent.ACTION_MOVE: ... case MotionEvent.ACTION_CANCEL: case MotionEvent.ACTION_UP: valueAnimator.setFloatValues(Math.abs(touchSpeed) > MaxSpeed ? MaxSpeed * (touchSpeed / Math.abs(touchSpeed)) : touchSpeed, 0); valueAnimator.start(); break; default: } return true; }
|
完工。
